
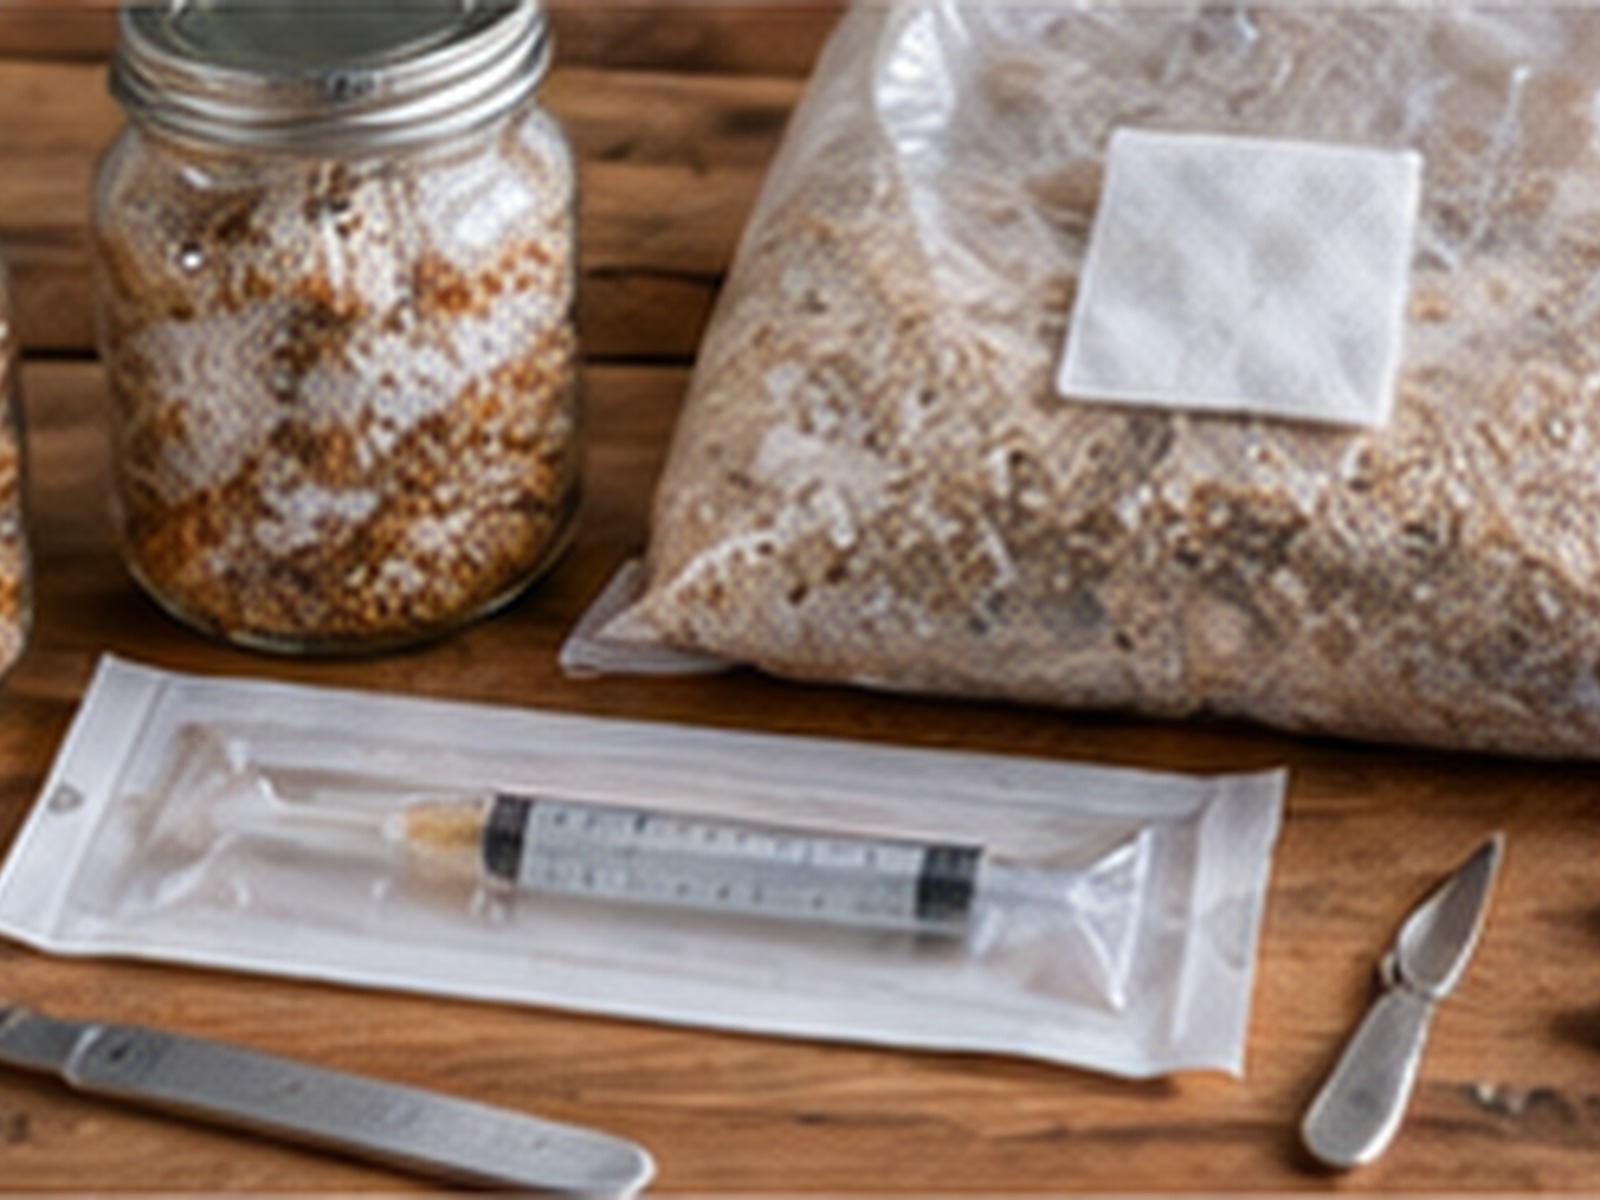
Grain spawn is the engine of most mushroom grows. It is sterilised grain that has been fully colonised by mycelium, ready to mix into a bulk substrate or to inoculate more grain. Getting the grain right, neither too wet nor too dry, makes the difference between fast, clean jars and a shelf of contamination. This guide covers gourmet species such as oyster, lion’s mane and shiitake.
Choosing a grain
- Rye: the classic choice. Holds water well and is easy to work with.
- Wheat: cheap and widely available in the UK, similar to rye.
- Millet: small grains give many more inoculation points, so it colonises fast, but it is easier to overcook.
- Oats: whole oats work but can turn mushy. Avoid rolled or flaked oats.
Buy whole, untreated grain intended for animal feed or brewing. Expect each kilogram of dry grain to fill roughly three 750ml jars once hydrated.
Step 1: Rinse
Rinse the grain in a bucket of water several times, stirring and pouring off the cloudy water and anything that floats, until the water runs mostly clear. This removes dust, chaff and broken grains that encourage bacteria.
Step 2: Soak
Cover the grain with plenty of water and soak it for 12 to 24 hours. Soaking starts to hydrate the grain evenly and encourages bacterial endospores to germinate, which makes them easier to kill during sterilisation. Adding a spoonful of gypsum (calcium sulphate) per kilogram helps stop grains clumping.
Step 3: Simmer
Drain, then simmer the grain in fresh water for 10 to 15 minutes. You are aiming for grains that are plump and fully hydrated in the centre, but not split open. Cut a grain in half: there should be no hard white core. Burst grains release starch, which makes the jar sticky and prone to bacteria.
Step 4: Drain and dry the surface
Drain the grain in a colander, then spread it in a thin layer on a clean towel or a rack and let it steam dry for 30 to 60 minutes. The surface of each grain should look dry and matte, with no visible water, while the inside stays hydrated. Excess surface moisture is the most common cause of bacterial contamination in grain.
Step 5: Fill jars or bags
Fill jars about two-thirds full so there is room to shake them later. Use lids fitted with a filter (a synthetic filter disc or a layer of micropore tape over a hole) for gas exchange, and a self-healing injection port if you plan to inoculate with liquid culture. If you use filter-patch bags, fold the top over loosely. Cover jar lids with foil to keep condensation out of the filters.
Step 6: Sterilise
Grain must be sterilised, not just boiled. Process jars in a pressure cooker at 15 psi for 90 minutes, or 2 to 2.5 hours for larger bags. Start timing once the cooker reaches pressure, and always follow your cooker’s safety instructions. Let it cool and depressurise naturally, ideally overnight, before opening.
Step 7: Inoculate
Once the grain is at room temperature, inoculate it in still air with gourmet liquid culture or pieces of clean agar culture. Our liquid culture and agar guides walk through this step. Incubate in the dark at around 20 to 24°C and shake gently once a third of the jar is colonised.
Troubleshooting
- Slimy grain or a sour smell: bacteria, usually from grain that was too wet. Dry the surface longer next time and avoid overcooking.
- Very slow colonisation: grain may be too dry, or the culture weak. Check that grains are fully hydrated inside.
- Green or black patches: mould. See our contamination guide.
This guide covers edible gourmet species only. Cultivating psilocybin-containing mushrooms is illegal in the UK, and our microscopy spore samples are not sold for cultivation.
Leave a Reply