
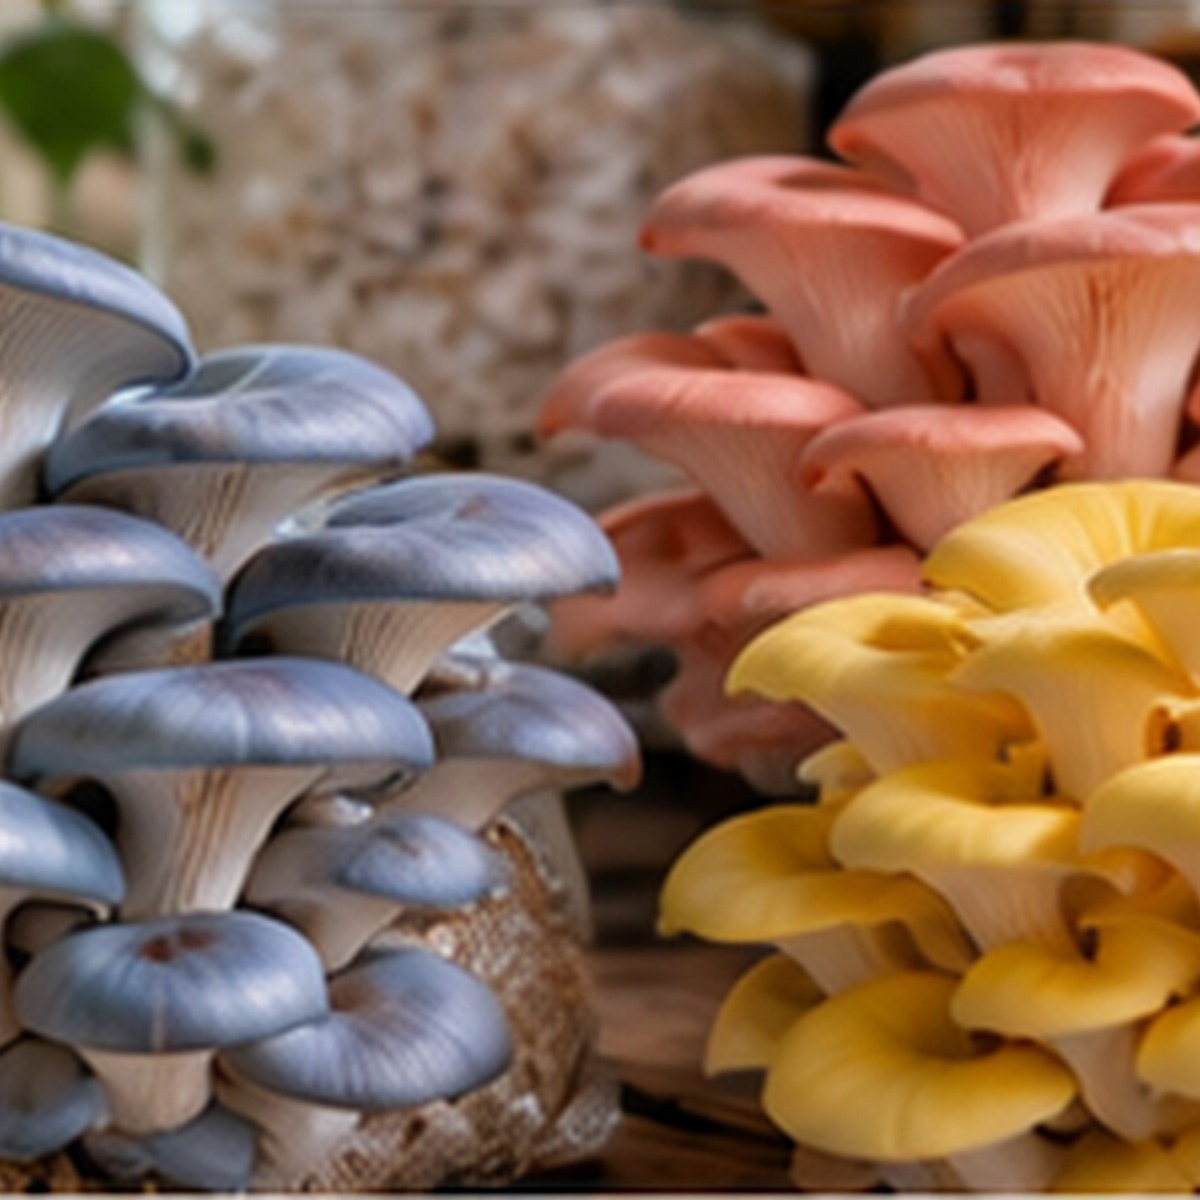
Straw is one of the best substrates for oyster mushrooms: it is cheap, easy to find in the UK, and oysters colonise it aggressively. Unlike richer substrates, straw does not need to be sterilised. Pasteurising it is enough, because it reduces competing organisms while leaving beneficial microbes that help protect the straw once the oyster mycelium moves in.
Choosing and preparing straw
Wheat straw is the most common choice, but barley or oat straw also work. Look for clean, dry, golden straw with no signs of mould, and make sure it has not been treated with chemicals. Chop it into pieces about 5 to 10cm long, using a garden shredder, a strimmer in a bin, or shears. Shorter pieces pack more tightly and colonise faster.
Method 1: Hot water pasteurisation
This is the most reliable home method. Fill a large pot or a metal bin with water and heat it to 65 to 80°C. Pack the chopped straw into a mesh bag or pillowcase, submerge it (weigh it down so it does not float), and hold the temperature in that range for 60 to 90 minutes. Use a thermometer: too cool and the straw will not be pasteurised, too hot and you start to sterilise it, which leaves it unprotected.
Method 2: Cold water lime bath
If heating large volumes of water is impractical, you can use a high-pH bath instead. Dissolve hydrated lime (calcium hydroxide, also sold as builder’s or garden lime, but check it is the hydrated form) in cold water at about 2 to 3g per litre, and soak the straw for 12 to 24 hours. The alkaline conditions kill most competitors, and oyster mushrooms tolerate them well. Wear gloves and eye protection when handling lime.
Method 3: Cold water fermentation
Submerge the straw in plain water for about a week. Anaerobic microbes take over and kill aerobic competitors, after which the straw can be drained and used. It needs no heat or chemicals, but it smells strongly and is best done outdoors.
Draining and cooling
After any method, drain the straw until it is at “field capacity”: damp throughout, but only a few drops of water come out when you squeeze a handful hard. Let hot-pasteurised straw cool to below 30°C before spawning, as heat will kill the mycelium.
Spawning and packing
Work on a clean surface with clean hands or gloves. Mix oyster grain spawn into the straw at a ratio of 10 to 20% spawn by wet weight. Higher spawn rates colonise faster and resist contamination better. Pack the mix firmly into clear grow bags or buckets, then make small holes or slits every 10 to 15cm for air exchange.
Colonisation and fruiting
Keep bags somewhere warm (around 20 to 24°C) and out of direct sunlight. Oyster mycelium usually colonises straw in 10 to 21 days, turning the bag white. Once you see small pin clusters forming at the holes, move the bag to fruiting conditions: high humidity, plenty of fresh air and indirect light. See our fruiting chamber guide for set-ups that work at home.
Troubleshooting
- Green mould patches: often Trichoderma, usually from under-pasteurised or overly wet straw.
- Sour, rotten smell: the straw was too wet or packed without air holes.
- Patchy colonisation: increase the spawn rate and mix more evenly.
This guide covers edible gourmet species only. Cultivating psilocybin-containing mushrooms is illegal in the UK, and our microscopy spore samples are not sold for cultivation.
Leave a Reply