
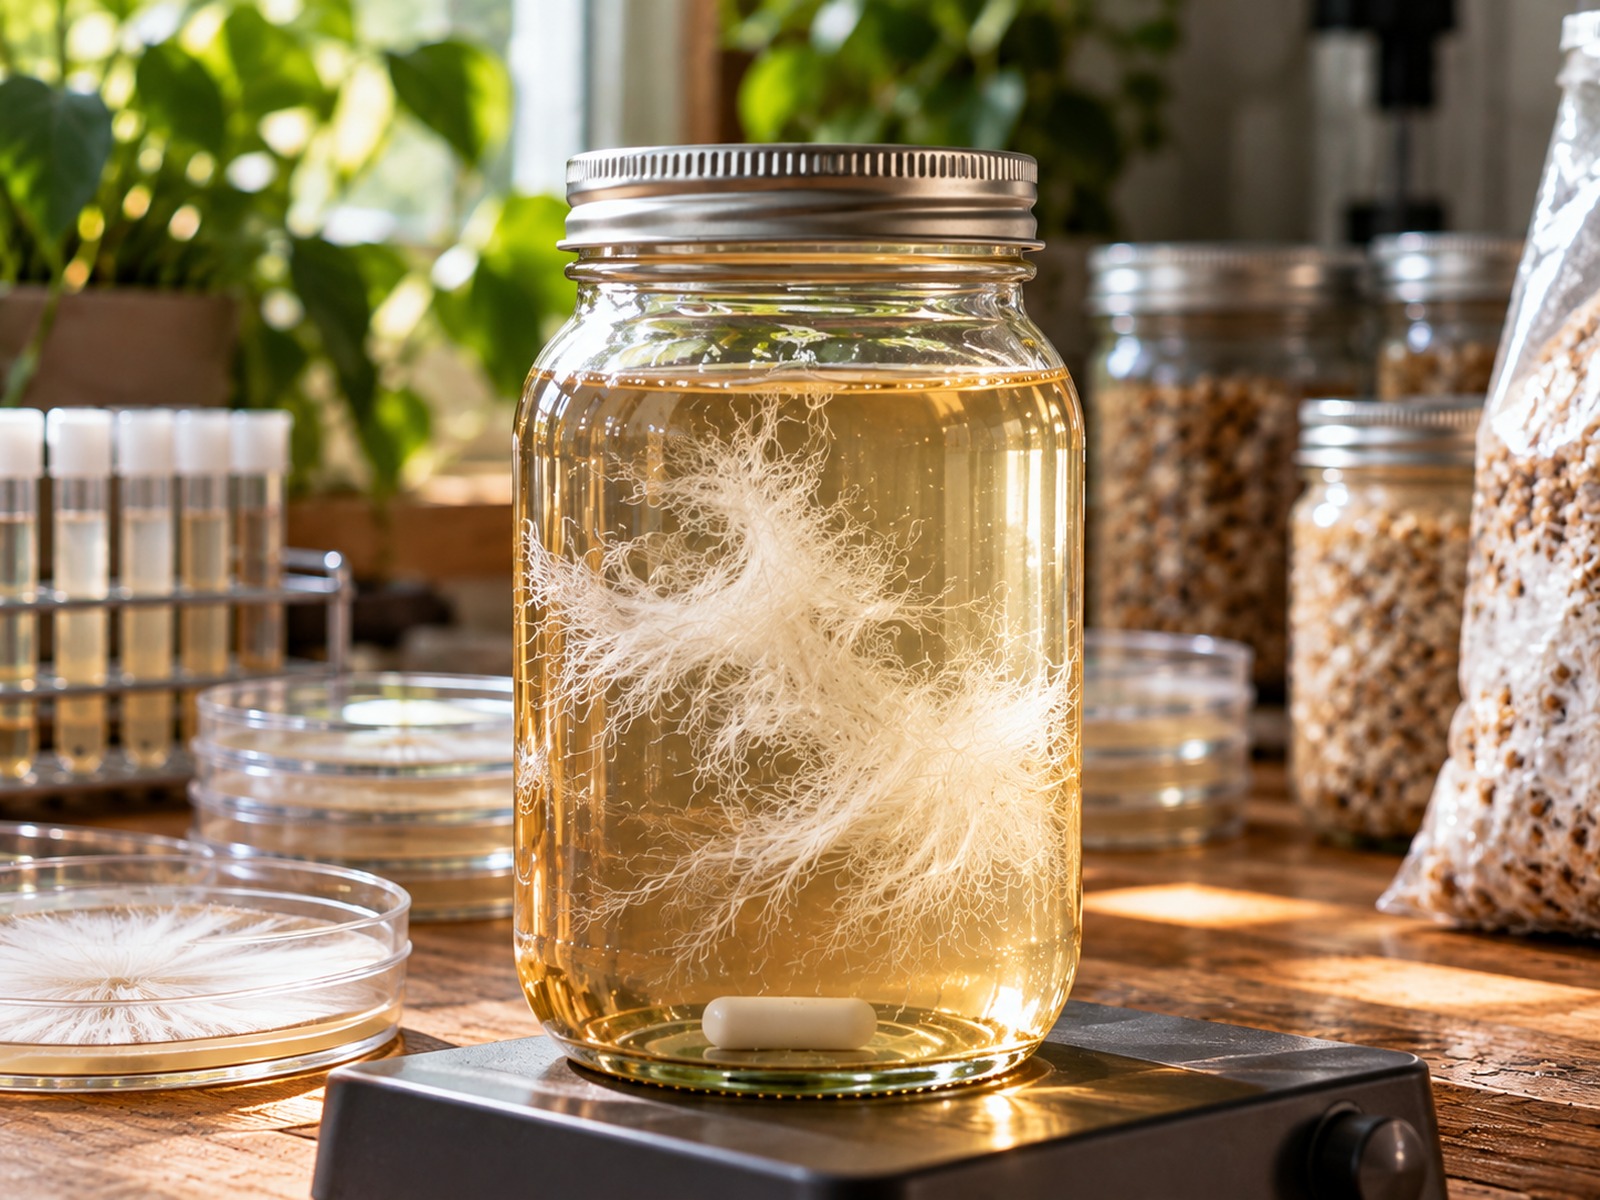
Agar is the tool that turns mushroom growing from guesswork into something you can see and control. On a clear plate you can watch mycelium grow, catch contamination days before it would show in grain, and pick out the strongest growth to carry forward. This guide covers gourmet species such as oyster, lion’s mane and shiitake.
What agar is
Agar is a gelling agent made from seaweed. Mixed with water and a sugar source and then sterilised, it sets into a firm, nutritious gel that mycelium grows across in a thin, visible layer. The most common home recipe is malt extract agar (MEA). Potato dextrose agar (PDA) is another popular option.
Equipment
- A pressure cooker that reaches 15 psi
- Agar powder and light malt extract
- A heat-safe bottle or jar to sterilise the mix in
- Pre-sterilised plastic Petri dishes, or glass dishes you can sterilise
- A still air box or flow hood, 70% alcohol, a scalpel and a lighter or alcohol lamp
- Parafilm or plastic wrap to seal plates
Making malt extract agar
A standard recipe is 20g agar powder and 20g light malt extract per litre of water, which makes roughly 40 to 50 plates. Mix it in a bottle with a loosely fitted lid covered in foil, then sterilise it in the pressure cooker at 15 psi for 30 to 45 minutes. Let the pressure drop naturally before opening.
Pouring plates
Let the agar cool until you can hold the bottle comfortably, around 50 to 60°C. Pour it any hotter and you get heavy condensation on the lids. Working inside your still air box, lift each lid just enough to pour a thin layer, about 5mm deep, and close it straight away. Leave the plates to set, then stack them upside down so condensation does not drip onto the surface.
It is good practice to leave a few plates for several days before using them. Any that grow mould or bacteria were contaminated during pouring and can be discarded.
Inoculating plates
Always work in still air with gloves and sterile tools. Open each plate only as far as you need, for as short a time as possible.
- From a gourmet spore swab or print: gently streak the spores across the agar in a zigzag. Spores germinate into many different strains, which you will separate later.
- From liquid culture: place a single small drop in the centre of the plate.
- From tissue: see our cloning guide.
Seal each plate around the edge with Parafilm or plastic wrap, label it with the species and date, and incubate upside down at around 20 to 24°C.
Reading your plates
Healthy gourmet mycelium is white and either fluffy (tomentose) or growing in thick strands (rhizomorphic). Watch for:
- green, blue-grey or black fuzzy patches, which are usually moulds such as Trichoderma or Penicillium
- shiny, wet-looking or slimy spots, which are often bacteria
- areas where mycelium stops growing or changes texture sharply
Transfers: cleaning and selecting
A transfer is the core agar skill. With a flame-sterilised and cooled scalpel, cut a small wedge from the leading edge of clean, healthy mycelium, as far as possible from any contamination, and place it on a fresh plate. Repeat two or three times until you have a plate with uniform, clean growth. With spore plates, transfer the most vigorous, rhizomorphic sectors to isolate a strong strain.
Using and storing cultures
A clean, fully grown plate can be cut into pieces to inoculate jars of sterilised grain, or used to start liquid culture. For long-term storage, transfer the culture to agar slants, small tubes of agar set at an angle, and keep them in the fridge at 2 to 4°C. Most gourmet cultures keep for many months this way.
This guide covers edible gourmet species only. Cultivating psilocybin-containing mushrooms is illegal in the UK, and our microscopy spore samples are not sold for cultivation.
Leave a Reply